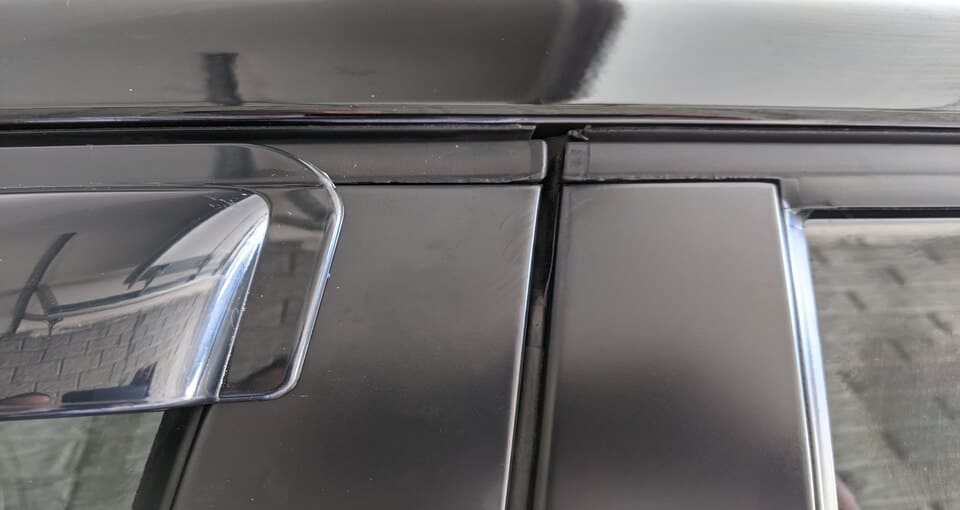
First line up where you are going to place the vent visors. Follow instructions for your make and model car. Mine stuck onto the rubber seals around the window and not the car paint. I matched the indent and line in the visor with the one in the window and trim running horizontal.
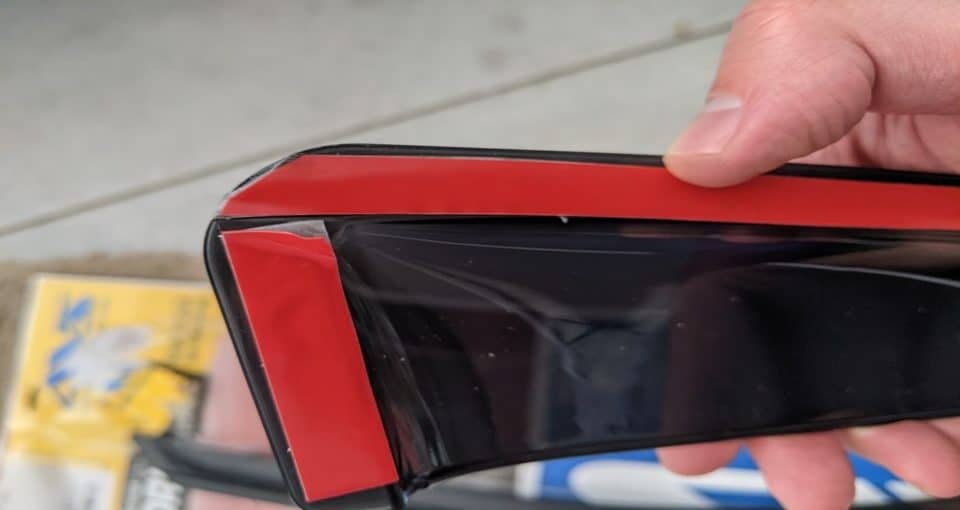
Each visor comes with three different tape sections covering with red protective film. First completely remove the film from the two smaller side sections running vertical. Then remove part of the film from both sides of the longest tape section on top running horizontal.
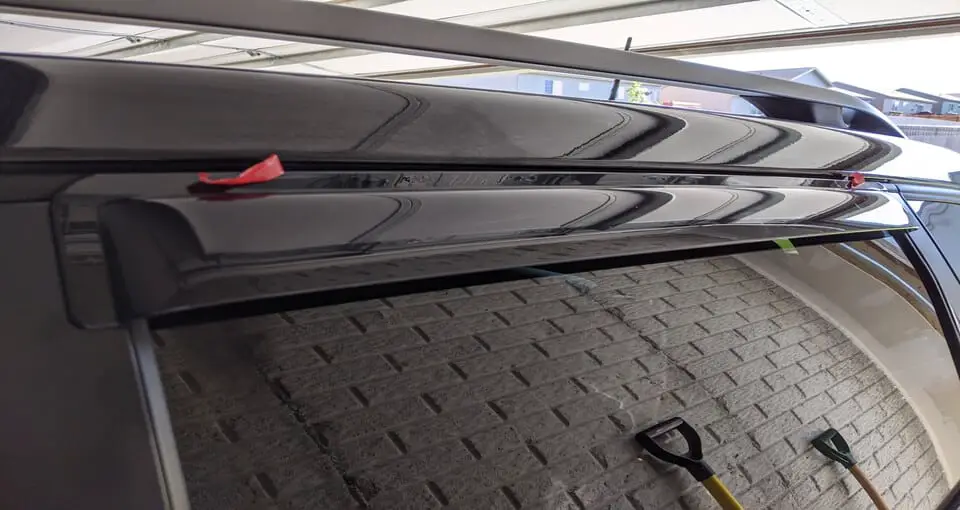
Begin to peel off the red protective film on both sides of the longest section (horizontal) before placing visor onto vehicle. This way you have two parts to grab onto which will be peeled off towards the center.
Installing tape on vent visors requires you to peel back and remove the film from the 3M automotive tape from each side. The top section is the longest strip of tape and removing its protective film is the last step in installing the visors.
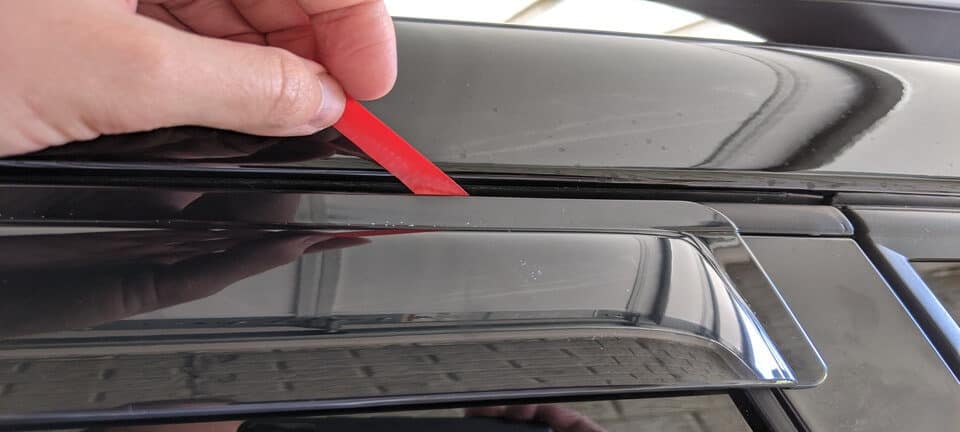
The other side towards the front is not shown but is done the exact same way. Do one side at a time (front to back or visa versa) until they meet in the middle. While doing this run your thumb or index finger along the side to further press in the tape.
Once the red film is removed rub your finger across each part to further stick the visor on. The visor should be stuck on at this point and left alone.
I would avoid any car washes or heavy sun for at least 24 hours after installing.